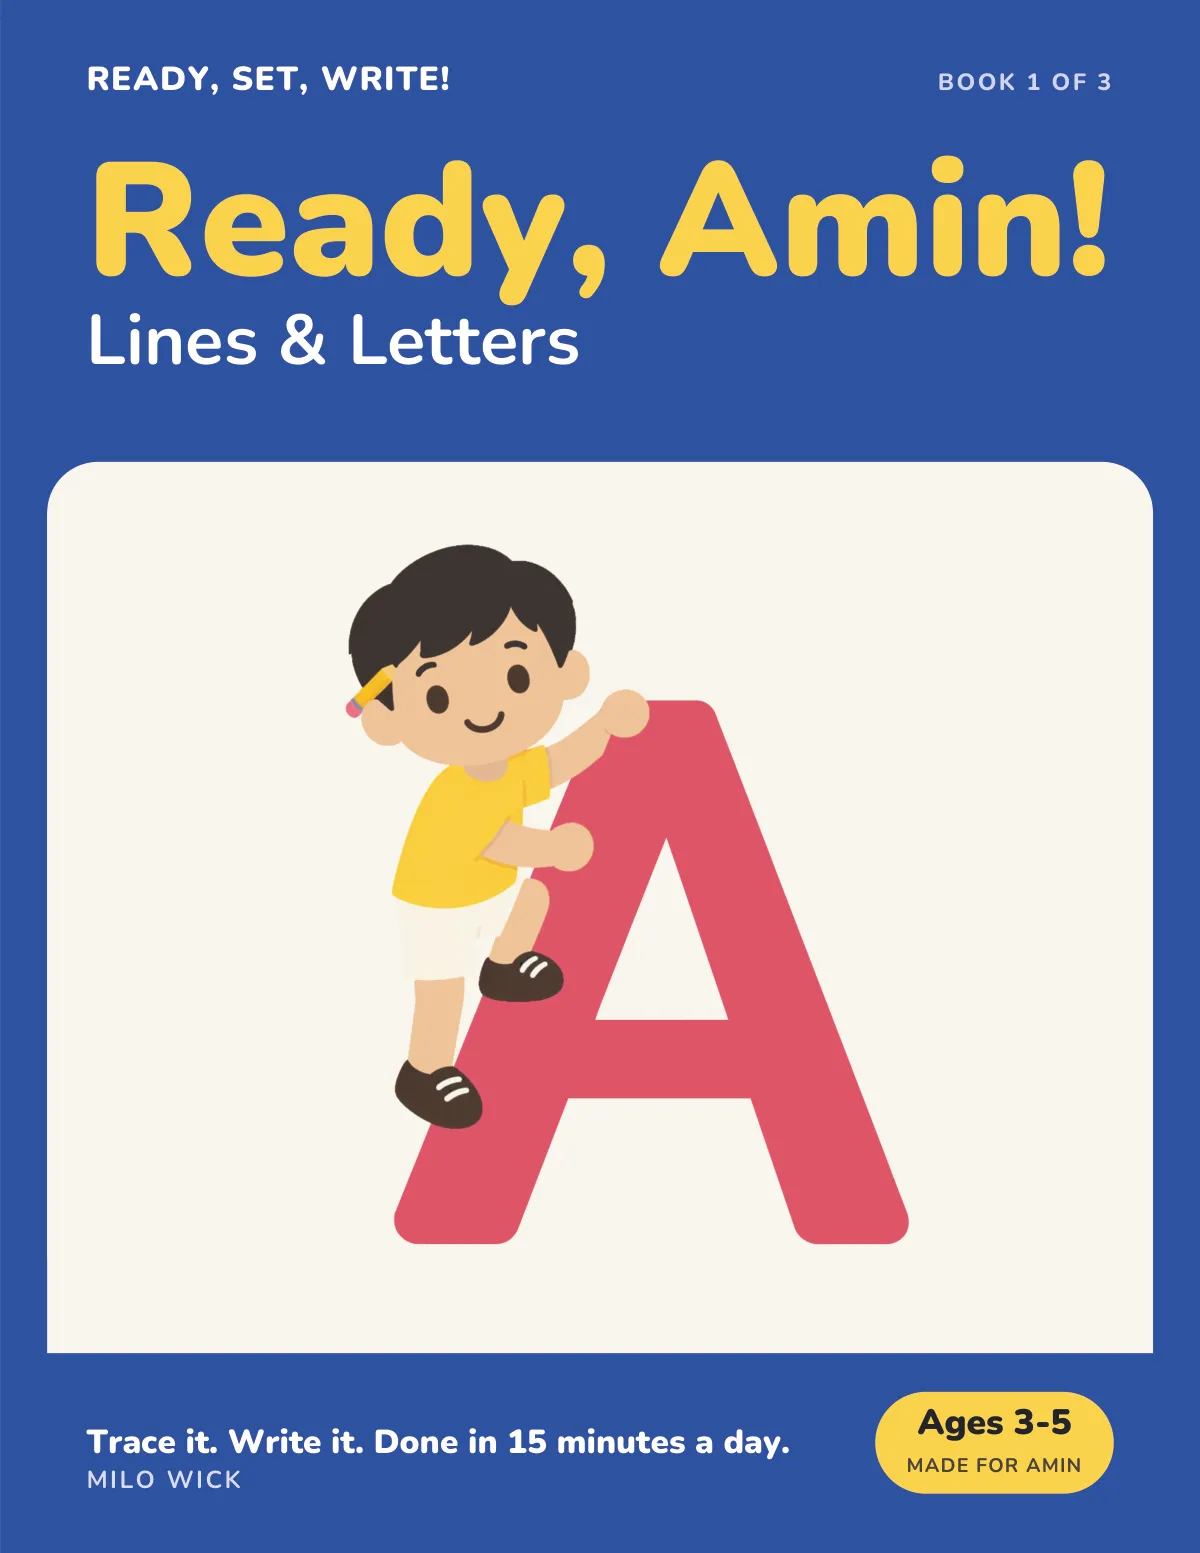
The first word a child wants to write is their own name, and it is the right first word. Four steps from recognising it to writing it alone, when to start, and whether it should be MAYA or Maya.
Why the name comes first
Of all the words a child could learn to write, their own name is the one they will write most, the one they already know the meaning of, the one they want, and usually the shortest. It is on their coat peg, their drawings, their birthday cards and their bedroom door. It is the first word a school will ask for. And it is the word that turns a row of traced letters into writing, because a child who has written their own name has made something that says something. So it is worth knowing how to teach a child to write their name well, and in what order.
So the name is worth teaching on its own, early, alongside the alphabet rather than after it. A child does not need to know twenty-six letters to write four.
When to start
A child is ready to start on their name when they can hold a pencil with their fingers rather than a fist, draw a line from a dot to a dot and stop, and recognise their name when they see it. For most children that is somewhere between 3 and 4. Interest is the other sign: a child who asks “what does that say?” or who scrawls something on a drawing and announces that it is their name is ready, whatever their age.
Before any of that, the name can be learned without a pencil, and should be. Recognising it comes first.
Step 1: recognise it
Put the name where the child will see it, in large clear letters: on the bedroom door, on a cup, on the fridge, on the drawer with their socks. Point to it and say it. Spell it out loud with the letter names, not the sounds, because the child is going to write it, and the names are what they will say as they write.
Then make it a thing to find. Write the name on a card and three other names on three others, and ask which is theirs. Cut the letters apart and have the child put them back in order, with the whole name on a card to check against. Magnetic letters on the fridge, spelling it out, that they can knock down and rebuild. A child who can pick their name out of four and put its letters in order is ready for a pencil.
Step 2: trace it
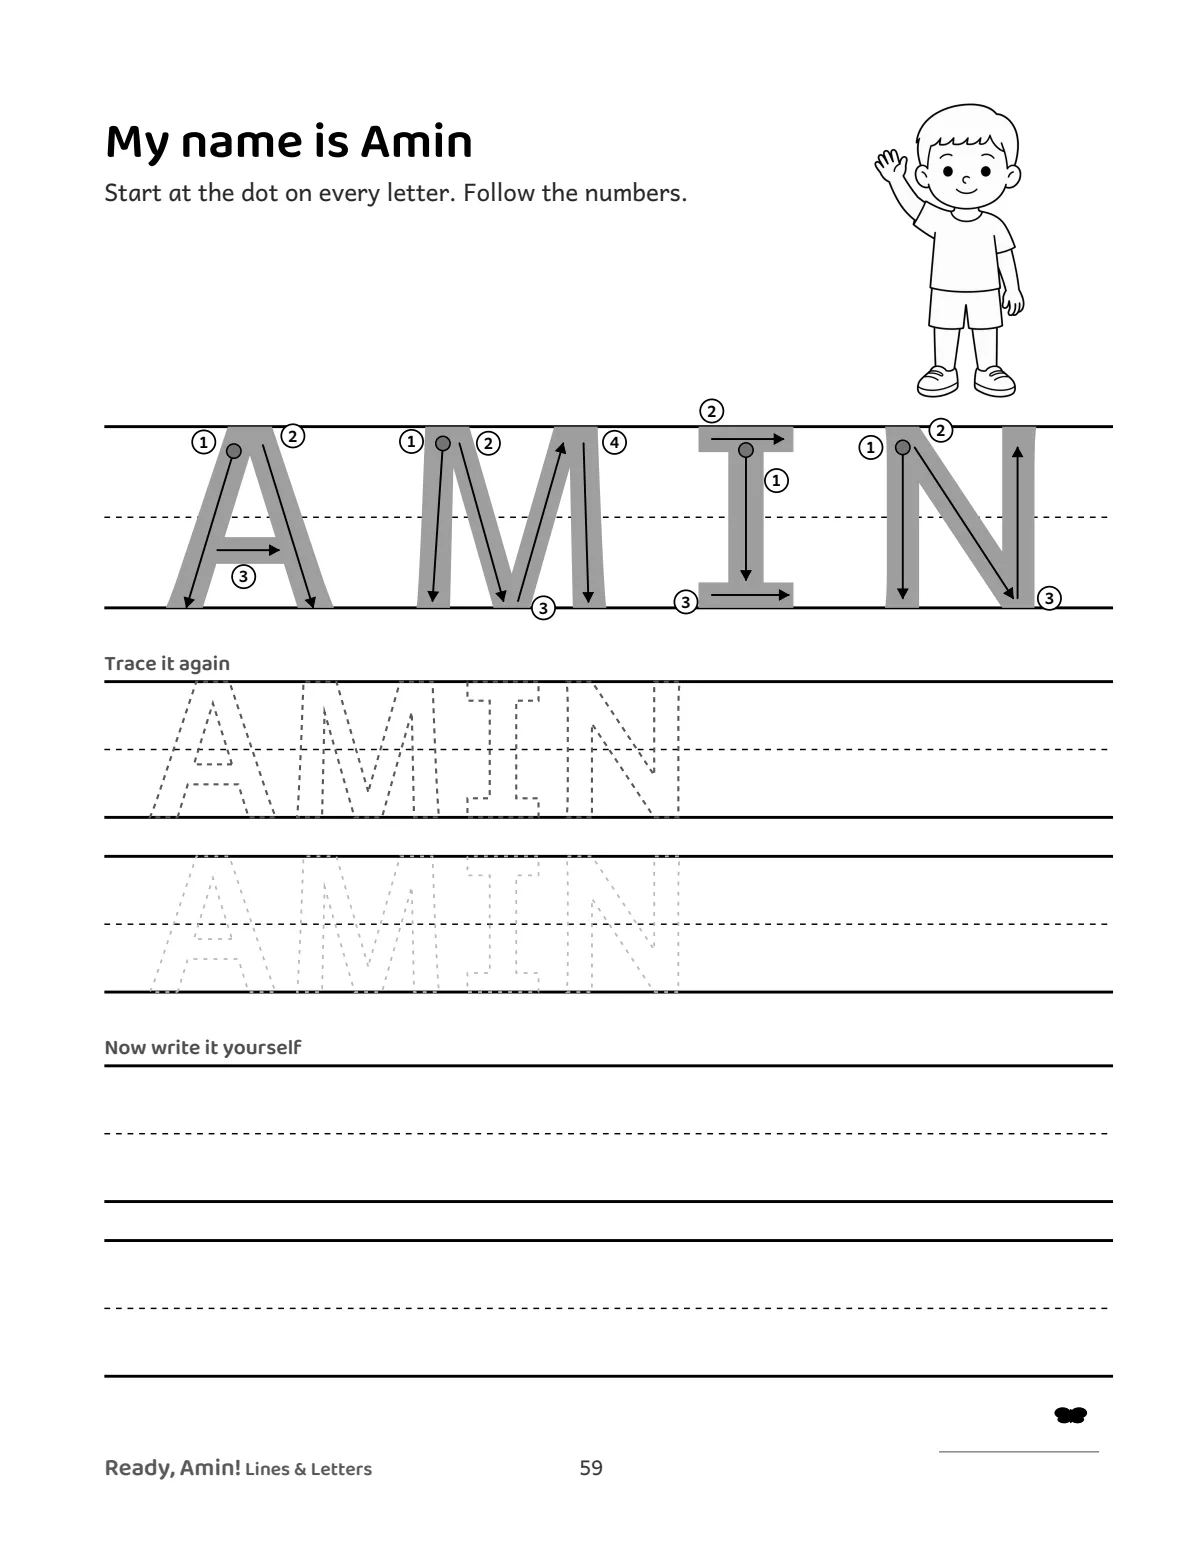
Write the name large, with a dot where each letter starts, and have the child trace over it. Say the letter names as they go: “M, a, y, a”. Large means it: letters an inch tall, on a row with a top line and a bottom line, because a 3 year old’s hand cannot keep inside a small row and should not be asked to.
Trace each letter the right way, from the dot, with the strokes in order. This is the moment the child learns the route through each letter of their name, and they will take that route for the rest of their lives, so it is worth getting right. A letter without a dot and an arrow is traced however the child likes, which is usually from the bottom.
Two or three traces a day is enough. More than that is a ride the child no longer needs.
Step 3: copy it
Write the name on the top row and leave the row beneath it empty, and have the child write theirs under yours, one letter at a time, looking at the model. If a letter will not come, write that one letter on the row and let them copy it, then go on.
This is where the dotted and faint copies help, if you want to use them: the name in dots to trace, then the name in the faintest line you can draw, then the blank row. Each step hands the child a little more of the work, and the jump from the traced name to the blank row stops being a cliff. A personalised workbook prints exactly this: the child’s own name as the model, with a dot on each letter, and rows that fade below it.
Expect the first copied names to be enormous, uneven and sometimes backwards. That is what a first name looks like at 3 and a half. Praise the fact of it and fix nothing yet except the start point of a letter that is being drawn from the wrong end.
Step 4: write it alone
Cover the model and ask for the name. The first time, some letters will be missing or in the wrong order; the child has the movement for each letter but not yet the memory of the sequence. Say the letter names in order as they write, and the sequence will come within a few days.
Then give the name somewhere to go. The corner of every drawing. A label on a jar. A card for a grandparent. The bedroom door, over the printed one. A child who writes their name for a reason writes it twenty times a week without being asked, which is more practice than any worksheet.
Capitals or lowercase: MAYA or Maya?
A 3 year old who writes their name in capitals has done nothing wrong, and there are good reasons the capitals come first for a young hand: they are straight lines and simple curves, they all start at the top, and they are the letters the child sees on their peg. MAYA at 3 is fine.
But a school will write the name as Maya, a capital followed by lowercase, and a child of 5 who still writes MAYA will be moved off it in the first term. So the name should change coat as soon as the lowercase letters in it can be formed, which for most children is between 4 and 5. Teach the first letter as a capital from the start, and the rest as lowercase once the child has those lowercase letters, which puts the name in the same form the school will use and saves relearning it.
If the name is long, or has an awkward letter in it, start with the capitals anyway and move the awkward letter to lowercase last. Uppercase or lowercase first? has the longer argument, and the order the lowercase letters are easiest in.
The two mistakes
Starting with the whole name, first and last. A first name of four or five letters is a word. A first and last name is a sentence, and a 3 year old does not have a sentence in them. The surname can wait until the first name is written alone without thinking, which is usually a year later.
Correcting the shape before the start. A backwards S, an a that does not close, a y with no tail: all normal, all fading on their own with practice. The one thing worth correcting early is a letter started from the wrong place, because that becomes a route, and a route is hard to change. Watch where the pencil goes down, not what the letter looks like when it comes up.
Making the name the book
Everything above can be done with a pencil and a sheet of paper, and should be. What a personalised handwriting book adds is that the name is everywhere in it: in the title on the cover, in the corner of every page, on the name page as the model with a start dot on each letter, and on the certificate at the end. The child is not learning letters from someone else’s book with their name written on the front; the book is about them, and the word they see most, for the months they spend in it, is the one they are learning to write.
The copy of Book 1 made that way is described on the personalised book page, with the looks a child can be drawn as, and personalised books for children says what the research found about books like it. Before the pencil, name recognition activities has twelve games for step 1. For the rest of the alphabet, in the order a small hand learns it, how to teach a preschooler to write letters has the seven steps, and when do children learn to write letters? says what to expect at each age.